Today I thought I’d highlight some handy tips for extracting photos in Photoshop Elements. I try to make it easy on myself by selecting a photo with a fairly defined image to extract.
Here’s my starting point.
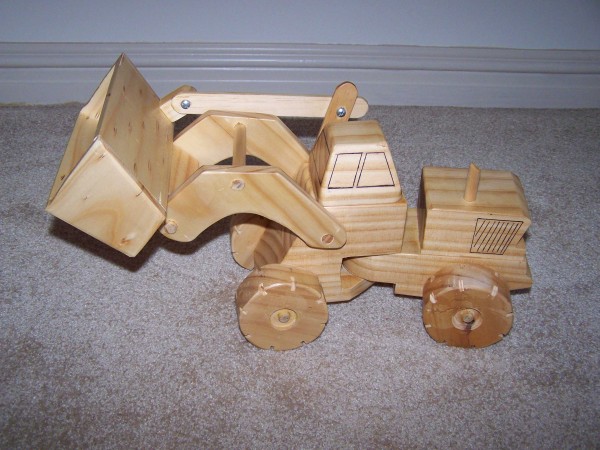
This one is not too easy as the carpet isn’t that different in colour to the truck, so it will give us a little challenge.
1. Duplicate the layer and turn off the background layer, to avoid editing the original photo. Save your work! 🙂
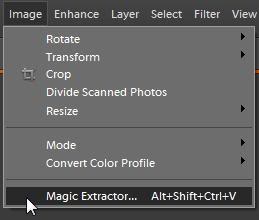
2. I’ll try the Magic Extractor – go to the Image Menu then click on Magic Extractor (Alt+Shift+Ctrl+V)
3. Trace the edge of the object (zoom in and out with Ctrl + & Ctrl – ) with the foreground (red) brush.
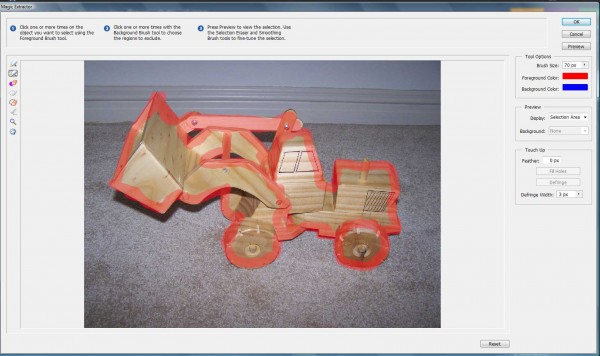
4. Click preview to see how things are progressing.
5. Then add the blue (background) areas to extract:
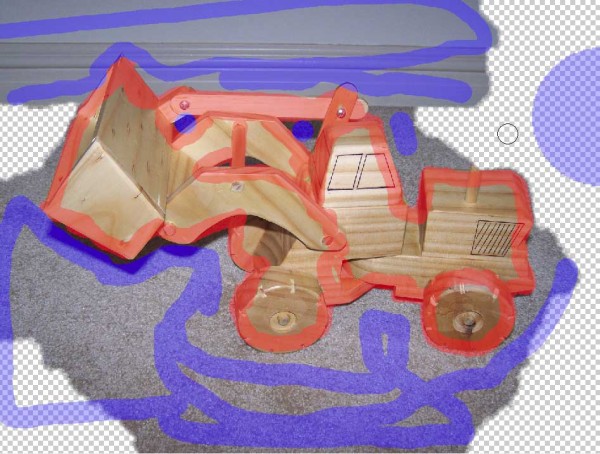
6. Keep clicking preview until you are fairly happy with the result – for a image with more contrast than our example it will work much better 🙂 When you are ready, click OK to return to Photoshop.
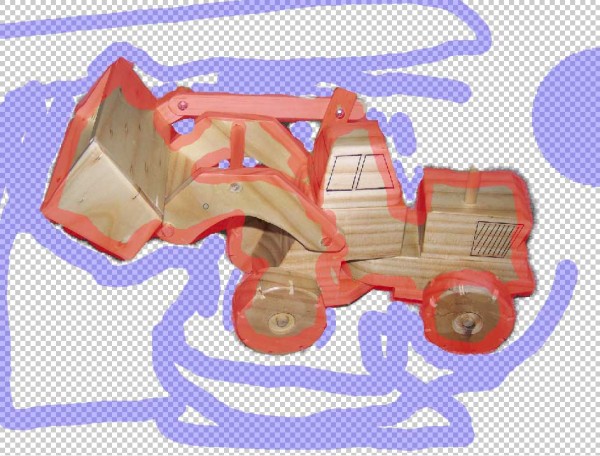
7. Here’s my rough extraction using the Magic Extractor:
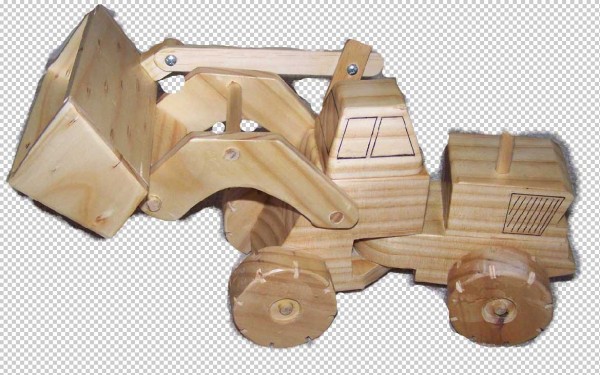
8. Duplicate the original layer again so that you can work from that to tweak your extraction:
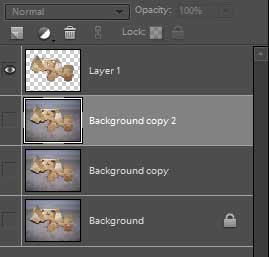
9. Ctrl+click on the extracted layer in the layers pallete to select the outline of the selection:
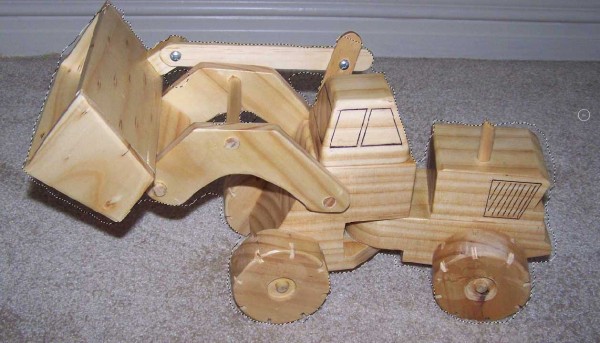
10. Then you can tweak the extraction using the quick selection tool – hold down Alt to removed the background or shift to add to the extracted foreground (or set up your tool to be in add to selection mode. See what I did here to fix the holes and the ends of the wood?
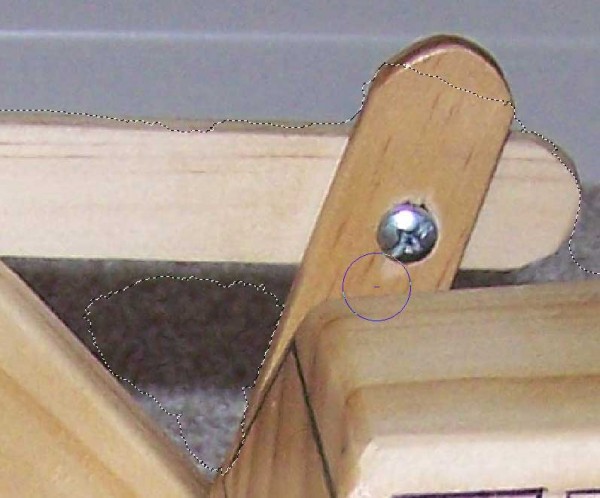
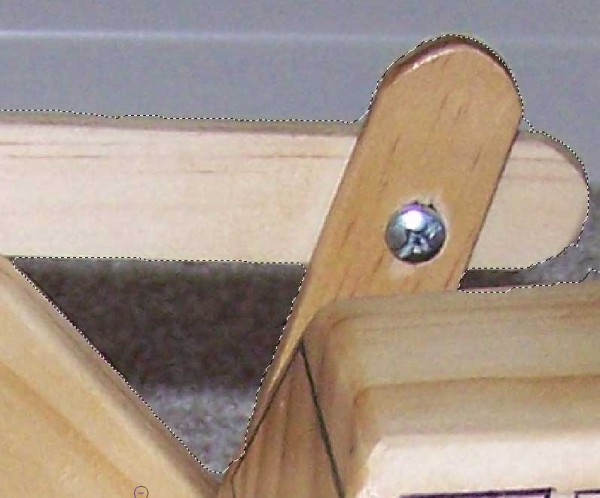
Much neater!
11. Now press Ctrl+J to duplicate the selection from the background, hide the original photo and voila! You can clean it up with the eraser tool.
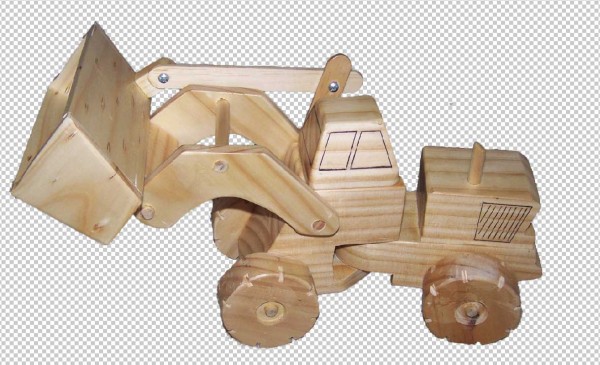
12. Just add some paper to check it looks neat:
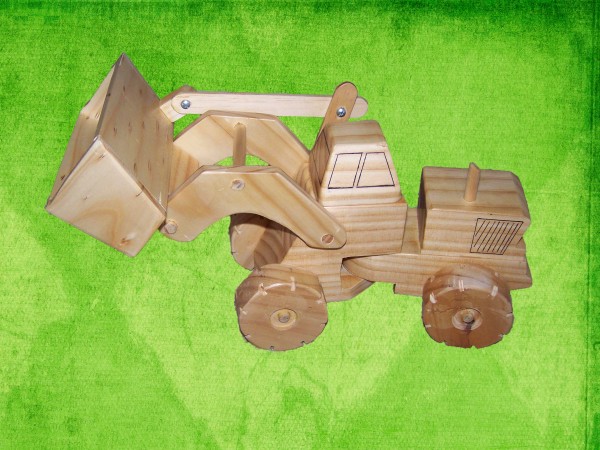
13. Then add a shadow:
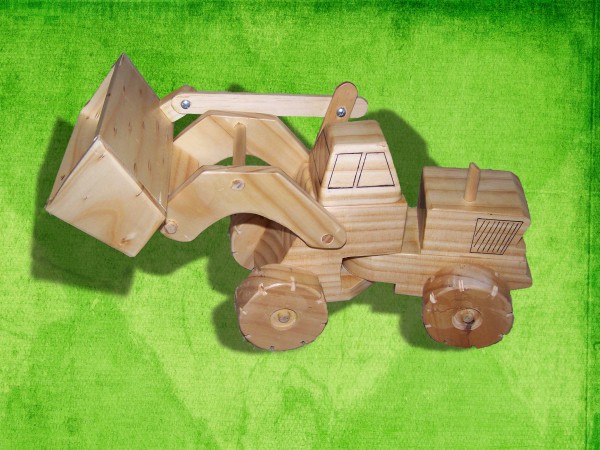
Remember save your work regularly as you go along!
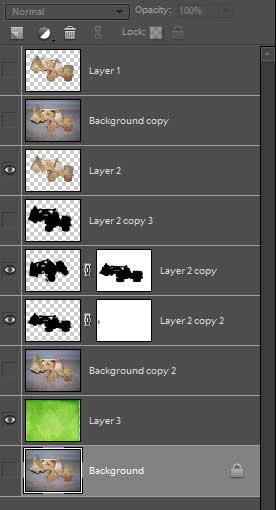
Here’s my layers for you to see 🙂
Here’s a couple of other tutorials you may like to check out about extractions
Have fun extracting!
Melissa


Thanks for posting this, it’s a subject everyone struggles with!
Just a note – at least two of the tutorials listed at the end are for Photoshop only, they won’t work in PSE. Don’t want PSE users to get frustrated looking for the quick mask icon!
Also, be careful with the magic extractor and other selection tools. I looked over files the other day for a designer, and there were TONS of tiny holes all along the edges of her image. She had to go in and repair so much, it would have been easier to just erase.
Be sure to zoom in to 100% and look closely (put in a contrasty background so you can see) or you may get a surprise when your layout is printed! I know, it happened to me!
Great job on the tutorial, esp the image of the layers at the end, that’s very helpful!!
really great tut!! thank you!
Thanks for the extra tips Jenn! 🙂
Thanks so much for this! Helped loads! 🙂
Thanks Elle! 🙂